Sometimes I feel like I’m talking to myself, but looking back will be much more fun with “in the moment” thoughts from our journeys.
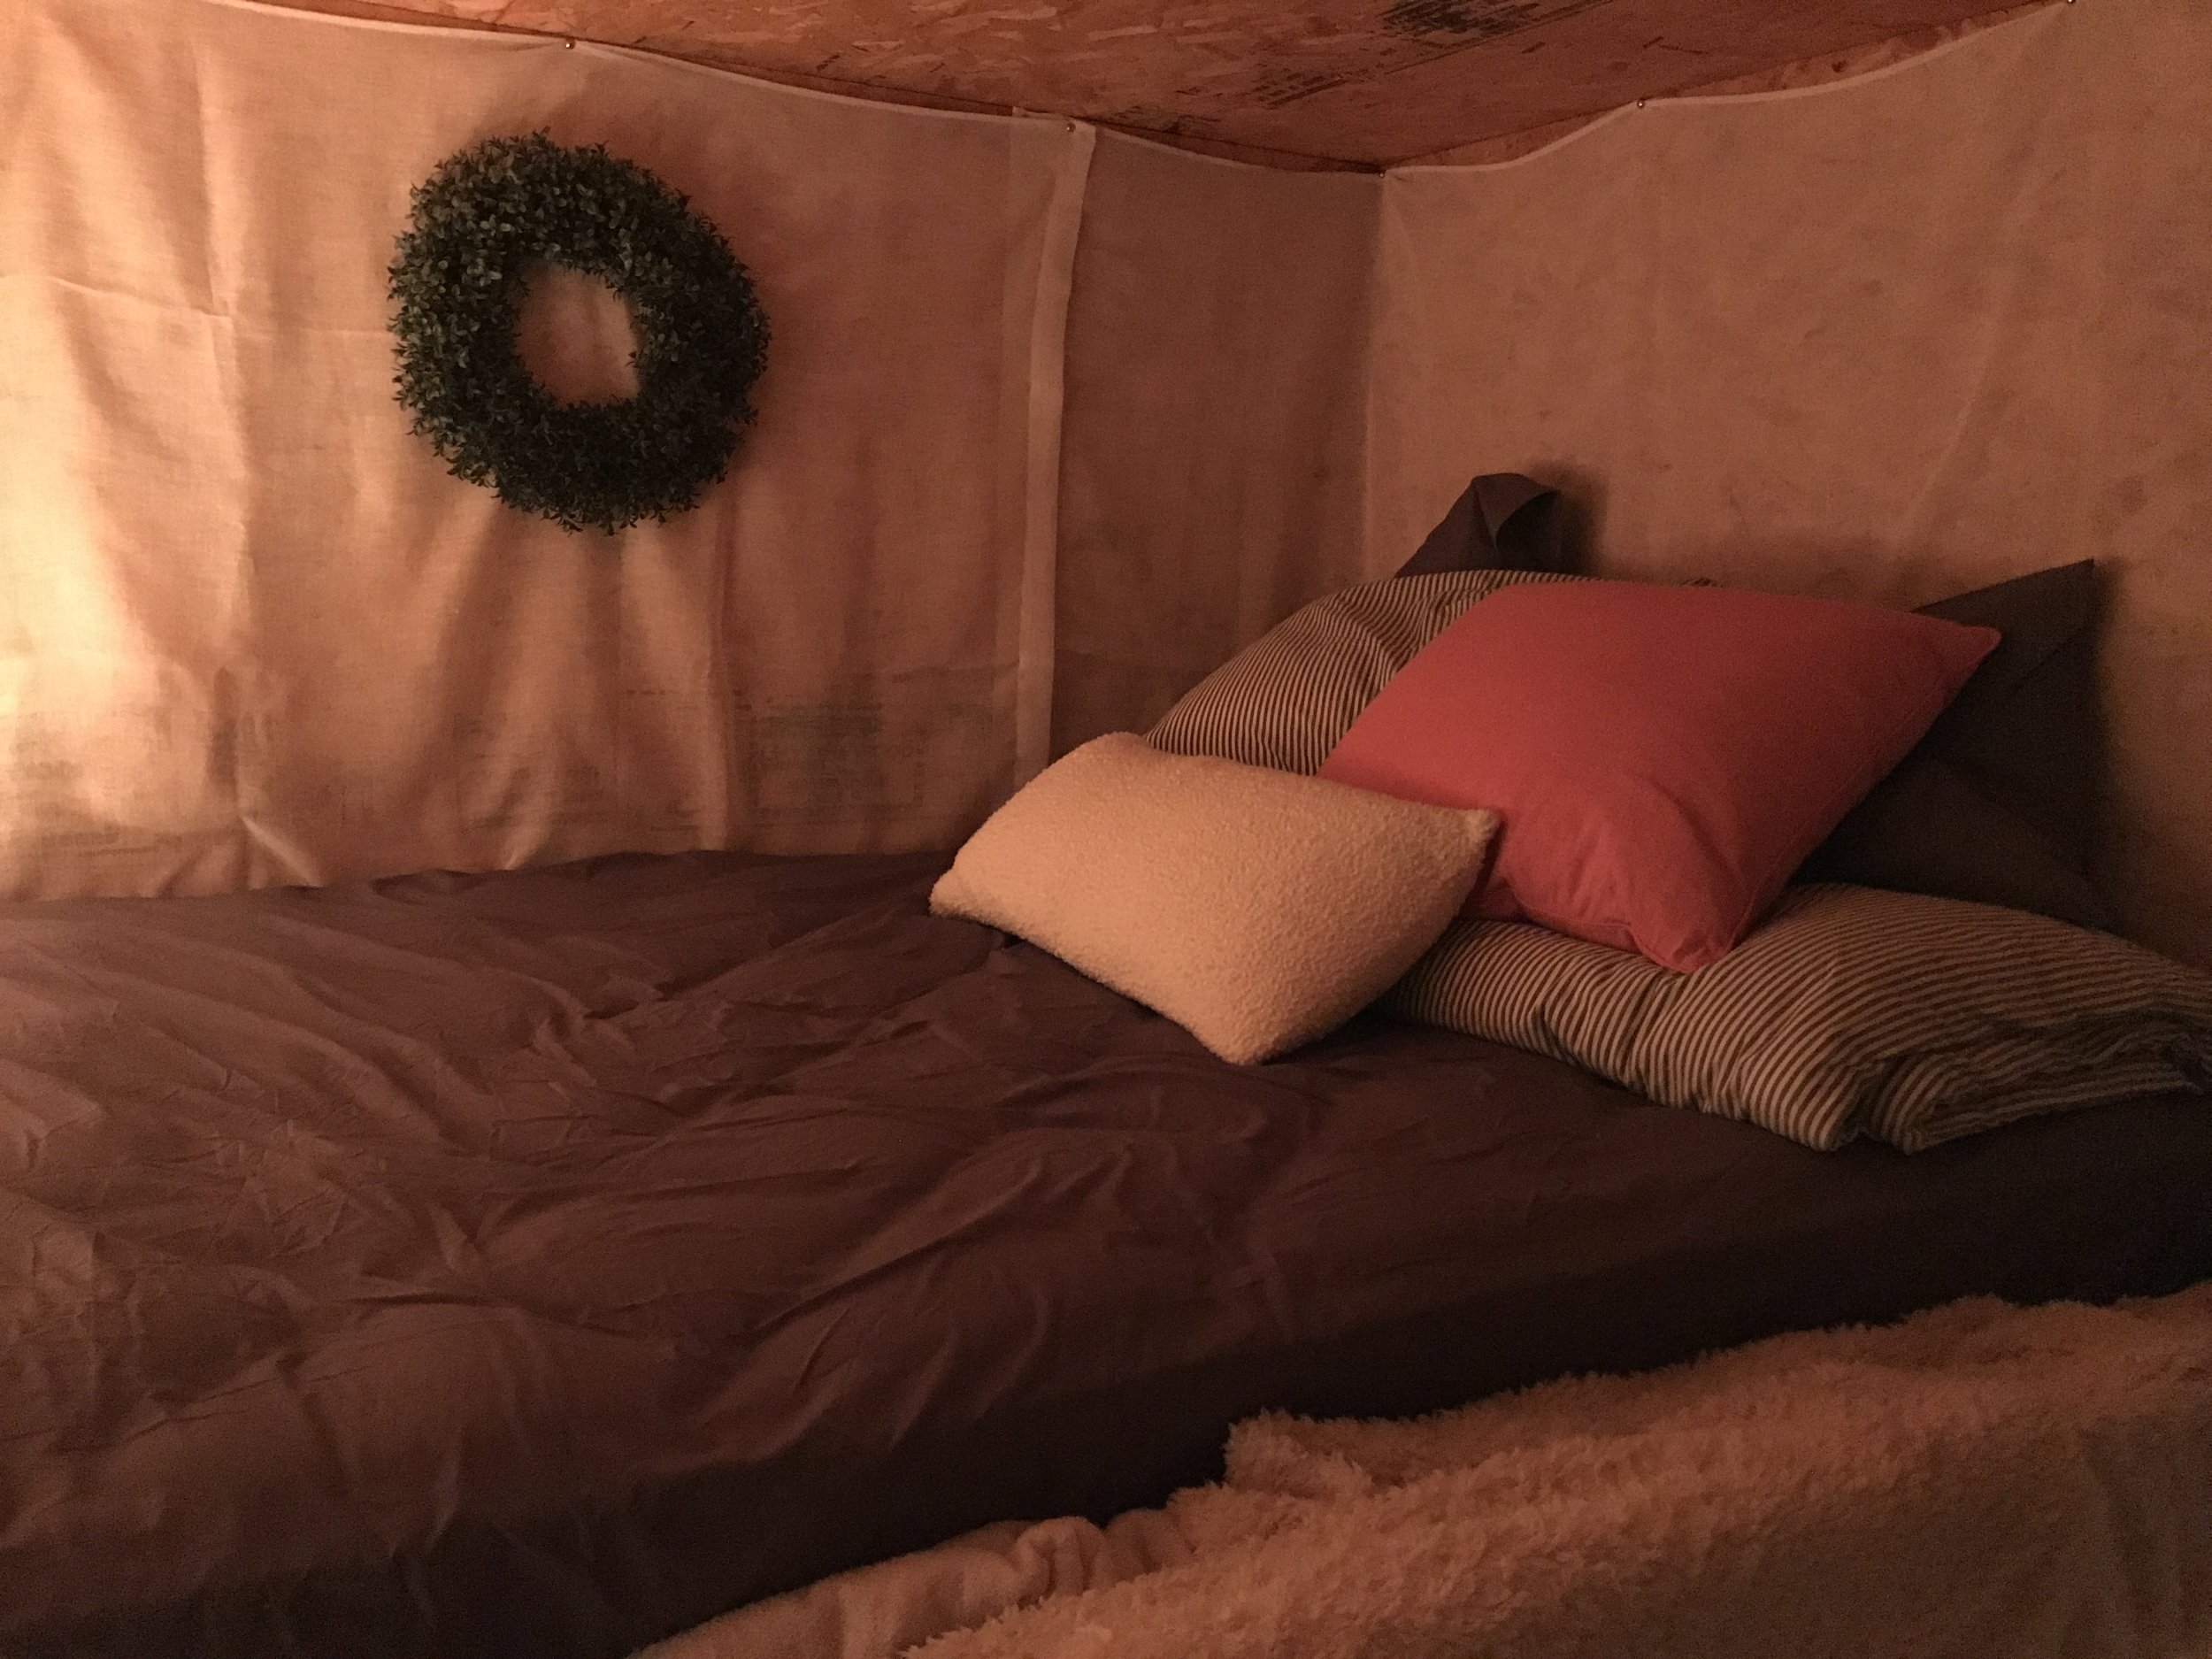
This coming weekend we’re headed back for a long Easter weekend at SunDaze. We’ve chosen to take on completion of the bunk house. We ended last year with the bunks made, mattresses and bedding in, and about 1/3 of the raw wood on the walls. Perhaps it would’ve been lots easier to put up Sheetrock and call it a day, but we had all this free wood laying around, and thought it might be more fun to create the shiplap look. We’re moving out the refrigerator and finishing up the walls. So on Dave’s to do list (before he leaves on Monday morning following Easter) is to get the wood up, the ceiling light changed out and the outlet turned around to the outside so we can plug the refrigerator in the space between the house and bunkhouse.
Here’s our thinking, we have this 4 foot space between the house and bunkhouse. The back side has a screen door, but since we’re going to Airbnb, we need a space to lock up our property and a place to hold some food when we’re not there and expecting company. So we’re adding a door to the front side of the “space in between”, shelves and the refrigerator to the area to lock it up. What’s nice about this is it will also free up the bunkhouse for a chair and shelving.
Once this is completed this weekend, my daughter, her friend and I will paint everything white! Hopefully get the mattresses and bedding back in before we leave a few days later.
So that’s our plan of attack for our March SunDaze work. I’ll post before and after pics next week! I’m a bit of a work horse when it comes to getting jobs done, even cutting boards and screwing them in long after the boys have wandered off on breaks.
I’ll have to come up with something fun to do with my daughter and her friend so it seems a bit more like a REAL spring break. LOL and since my daughter has accepted her invitation to a Eastern Washington university, we’ve discovered there is a incoming freshman day on April 7th, so back over I go next Friday so I can drop her off at the dorms and do a little more painting on Saturday.
And the hits just keep on coming!